It took 4 years (and a pandemic) but my husband, D, finally let me have creative control over his office. Scroll to see his DIY home office transformation.
We’ve been in our house since 2016 and I’ve been transforming it since day one. It was a sea of red, yellow and orange but there was one room that didn’t need any work done to it: the corner bedroom. D conveniently decided that would be his office and told me the creative control for that room plus the basement were his. I agreed knowing leaving it up to him meant there would be nary a piece of décor in that room. A year in, he proved me wrong when he hung a pitbull canvas painting on the wall. That was the beginning and end of his efforts to transform his home office.
Fast forward to January 2021. We had been quarantined for almost a year and, personally, I got tired of looking at his bare walls—it looked like an asylum. I tried, again, to offer to decorate the room and his stern no that he held on to for 4 years eased into a “maybe” and that was all he needed to say. I got to work on this DIY home office transformation!
Before I walk through the process, here’s a quick video of how this space looked before.
Related (Decor): Bright & Airy Nursery for a Baby Girl
Step 1: Measure + Mood Board
I started out by measuring every inch of the room so I knew what size the furniture should be then I sat down to create a mood board.
“Mood board: a collage of various items, as scenic snapshots, song lyrics, and mementos, used to evoke a desired feeling, style, or ambience for a project or event, and often fashioned as a starting point from which to create an inspiration board.“
(Source: Dictionary.com)


A mood board helps you determine the style, colors and mood for a space before you start designing it. I typically use Pinterest for this step. I create a board and title it whatever the room is I’m decorating then pin my heart out for inspo. Since I know D so well, creating his mood board was pretty easy. I knew his aesthetic, color preferences and overall mood he likes his workspace to evoke. He loves dark tones like black, brown and green and he favors a cigar lounge vibe that contains a mixture of leather and wood. Here are some of the photos I used for inspiration on his mood board.
Step 2: Budget + Design Board
Once I showed him the mood board, that maybe quickly became “okay, fine” so I jumped right to his design board. Before I keep going, I have to tell y’all I’m in no way an interior designer. I just love interior decorating and, this is a process I created to help me with my home décor projects. Is it the right approach to follow? Who knows! But it works for me, especially for DIY projects.
Here’s a photo of the design board which has the full layout of the room and the exact items I wanted us to buy. I create these in PowerPoint but you can use Canva, Adobe InDesign or PhotoShop. The notes section of the PPT deck is where I paste the links to everything on the design board which makes it easy to move things around. When I dabbled in interior decorating in the past, though, I used an Excel spreadsheet that broke down the prices for everything. The spreadsheet is my preferred format because it lets me keep track—line by line—of my budget for the space.

I showed D the finished design board and “okay, fine” was long gone (I think he was more excited than I was). We ordered everything then officially started the hands-on part of this DIY home office transformation. I had D paint an accent wall while we waited for everything to show up. It was my first time playing with color on the walls and now I have the itch to do more.
Step 3: Order + Set Up
Fun fact about this space: the carpet is actually an indoor/outdoor area rug. D is pretty hard on furniture so having something that could hold up outside meant it would hold up inside too. I always like starting with the bigger pieces so once the accent wall and area rug were in, we moved on to the bigger furniture.


We set up his standing desk and lighting before adding the armchair and chaise lounge I found on Amazon. Next, we installed the shelves—another Amazon find and they were really easy to set up—then finished by hanging the wall décor. I always do the wall décor last so I can easily determine how the position of each piece (e.g., how high, how centered, etc.). We’ve done enough DIY transformations where we had to reposition wall décor that we hung up before installing the furniture.
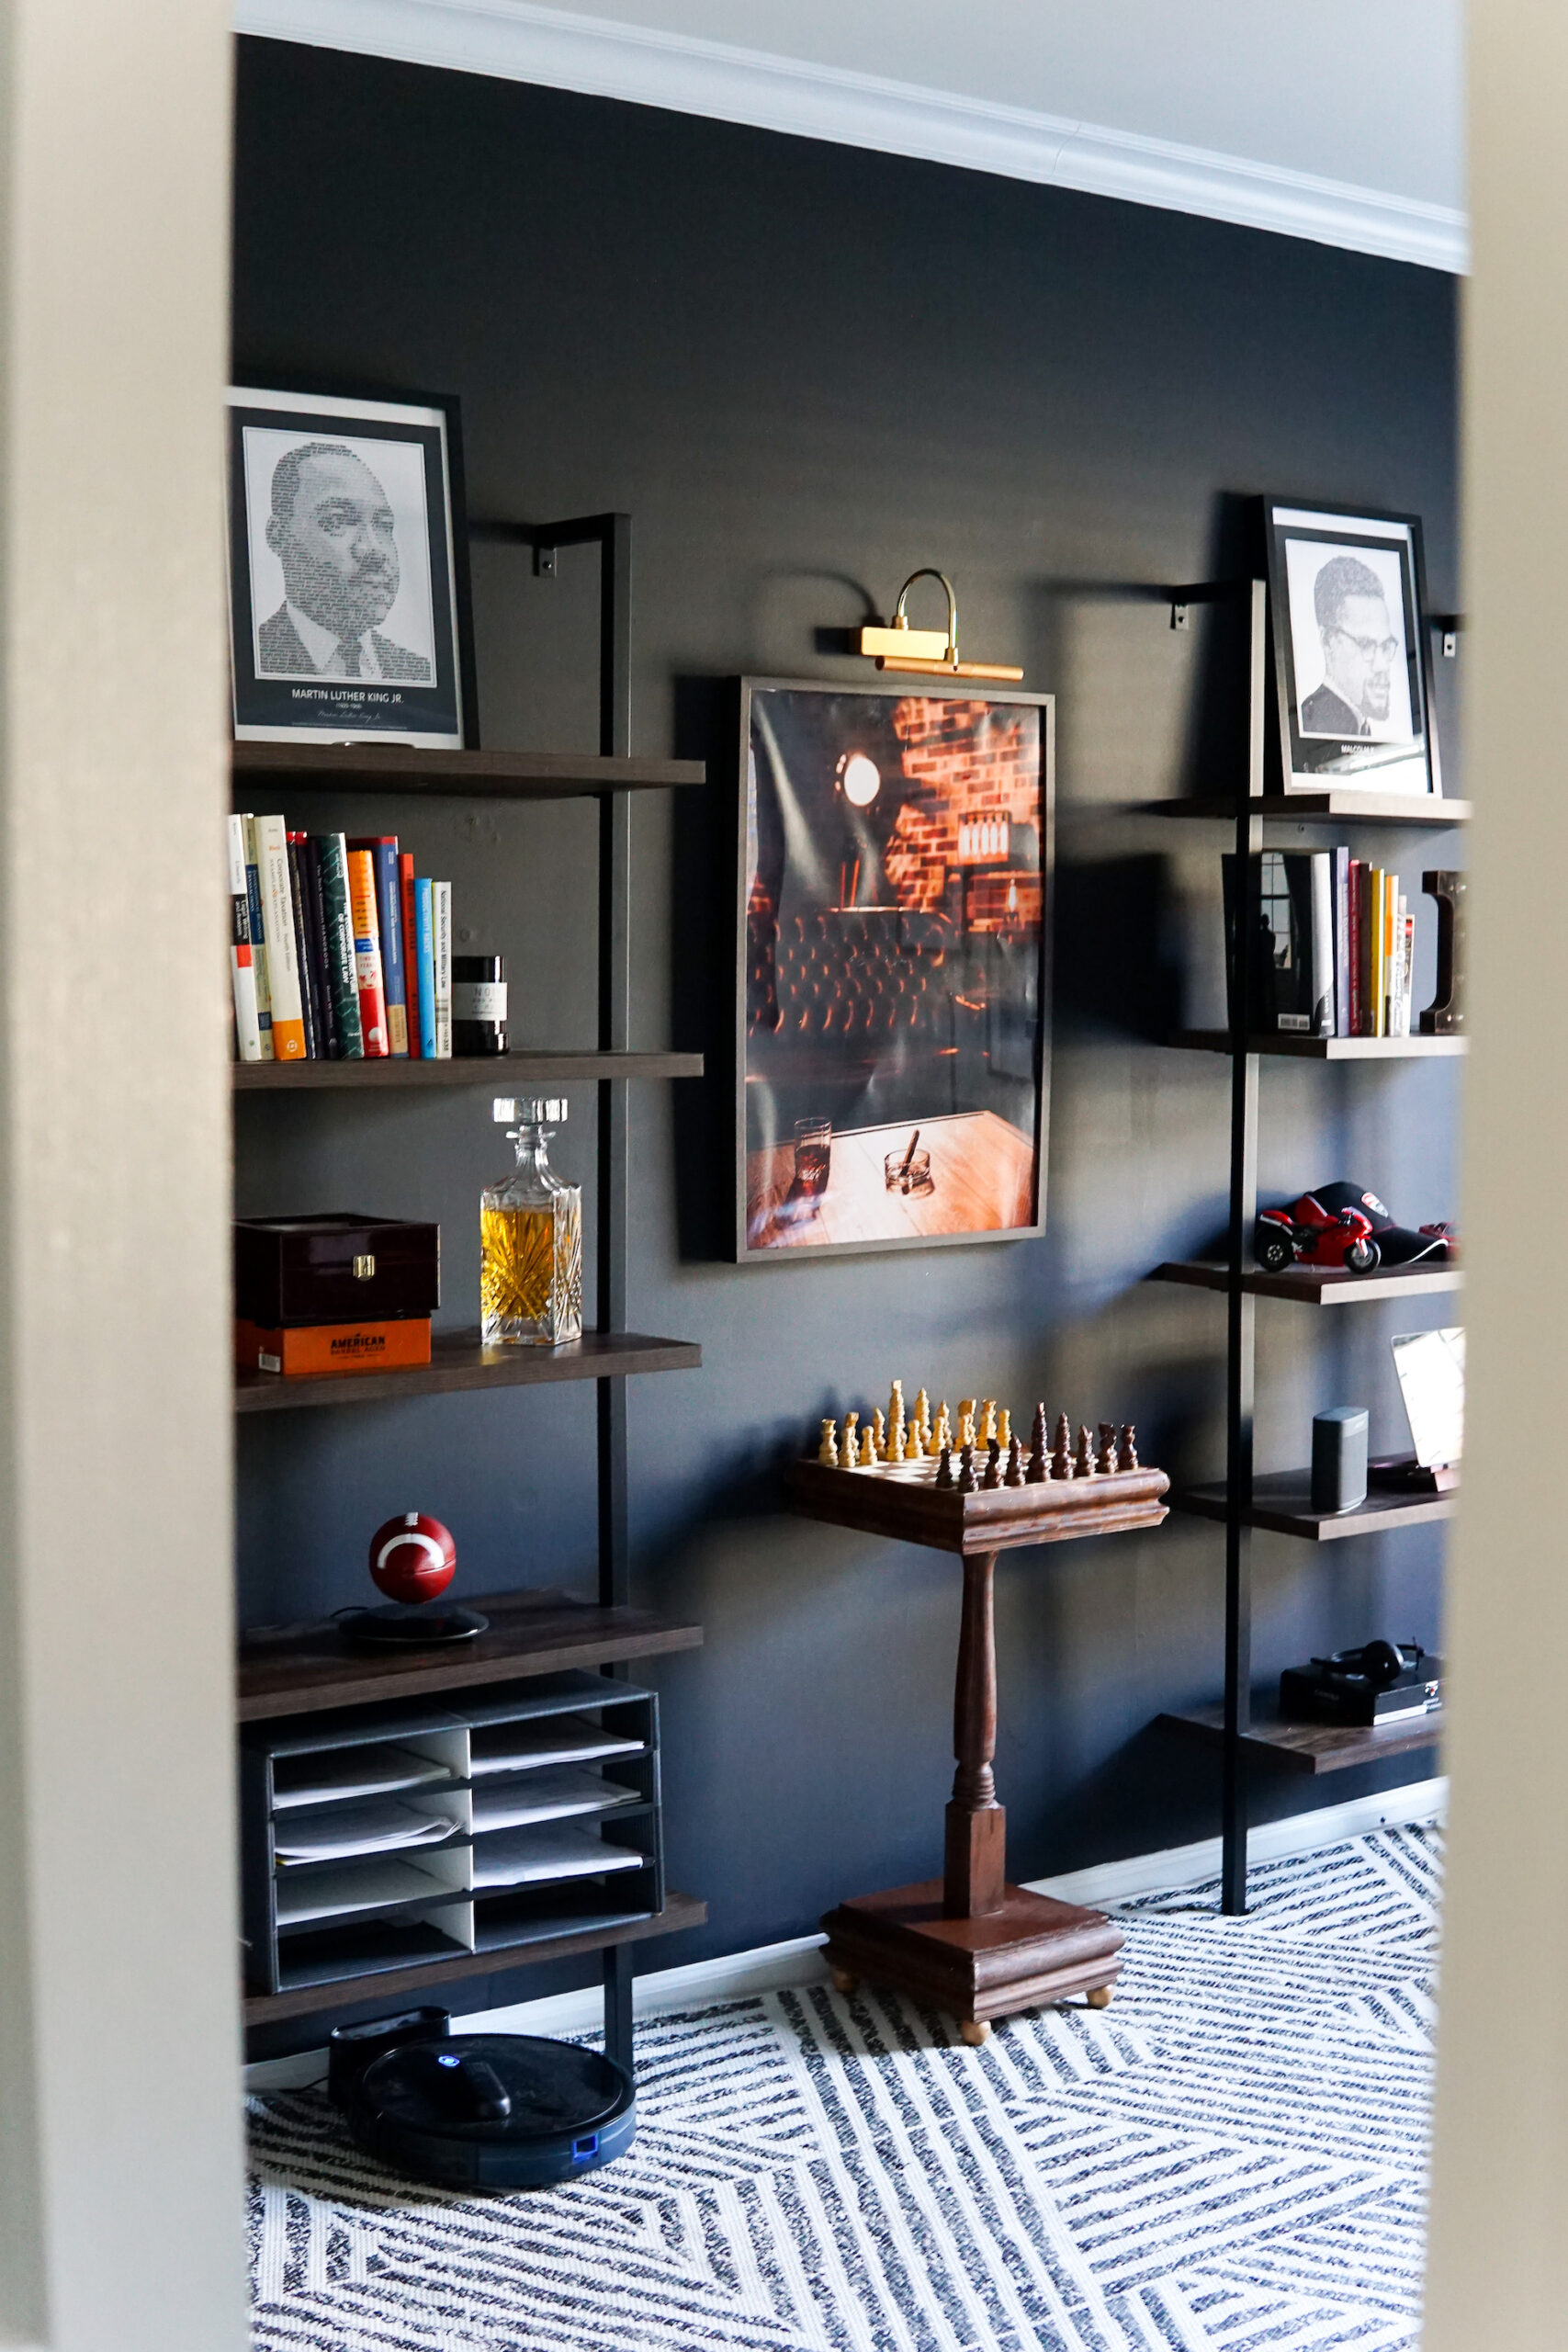
Finally, we topped everything off by adding the small touches like curtains, shelf décor and desk organizers. I also took a lot of pride and making sure the room really represented D. So, we added hints of him. He loves chess so we added this chessboard his brother made for him along with highlights from his time playing football at Lafayette. You’ll also find some of his favorite books and quotes from historic figures like MLK and Malcolm X. Finally, we added a piece of art he had painted during our trip to New Orleans in 2019.


Step 4: Take A LOT of Pictures
Oh, wait. Pictures! I took so. many. pictures! Mainly because I know this is about the only time his office will look this good, lol, but also so I could show y’all our work. D’s DIY office transformation is done but now it has me looking at the rest of the house wondering what else I can transform.


Sources