Before I dive in, I’ve gotta spill some tea: you’ve been having your mimosas all wrong sis. The best mimosas are made with Prosecco.. And here’s why: Prosecco is made using something known as the “charmat” method, which makes it more bubbly than champagne, so it’s ideal for mimosas. And the best part is, it’s cheaper (and tastes better, in my opinion, ha!). Okay, let’s get into how to set up a mimosa bar in 4 easy steps.

If you’ve been following me for a while then you already know I love brunch and mimosas–especially on somebody’s rooftop. But, every time we go to brunch and that receipt rolls out, I remind myself that it’s fun (and cheaper) to just make them at home. So, I set out to create a mimosa bar that works well if you’re making brunch at home for you and your significant other or if you’re hosting friends for brunch and want to get a little creative. And Mimosa Day is May 16 so I had to get a head start on the day.
The world is opening back up a bit so if you’re planning to have fam and friends over during the warmer months, this tutorial will show you how to set up a mimosa bar in 4 easy steps. Here’s how I set this one up.
What You’ll Need
- Champagne flutes
- Pitchers or Carafes (quantity is based on the number of guests)
- Small serving dishes
- Juice
- Fruit
- Pastries (optional)
- Fresh flowers (optional)
How to Set it Up
- Pick out your juices, fruit and food
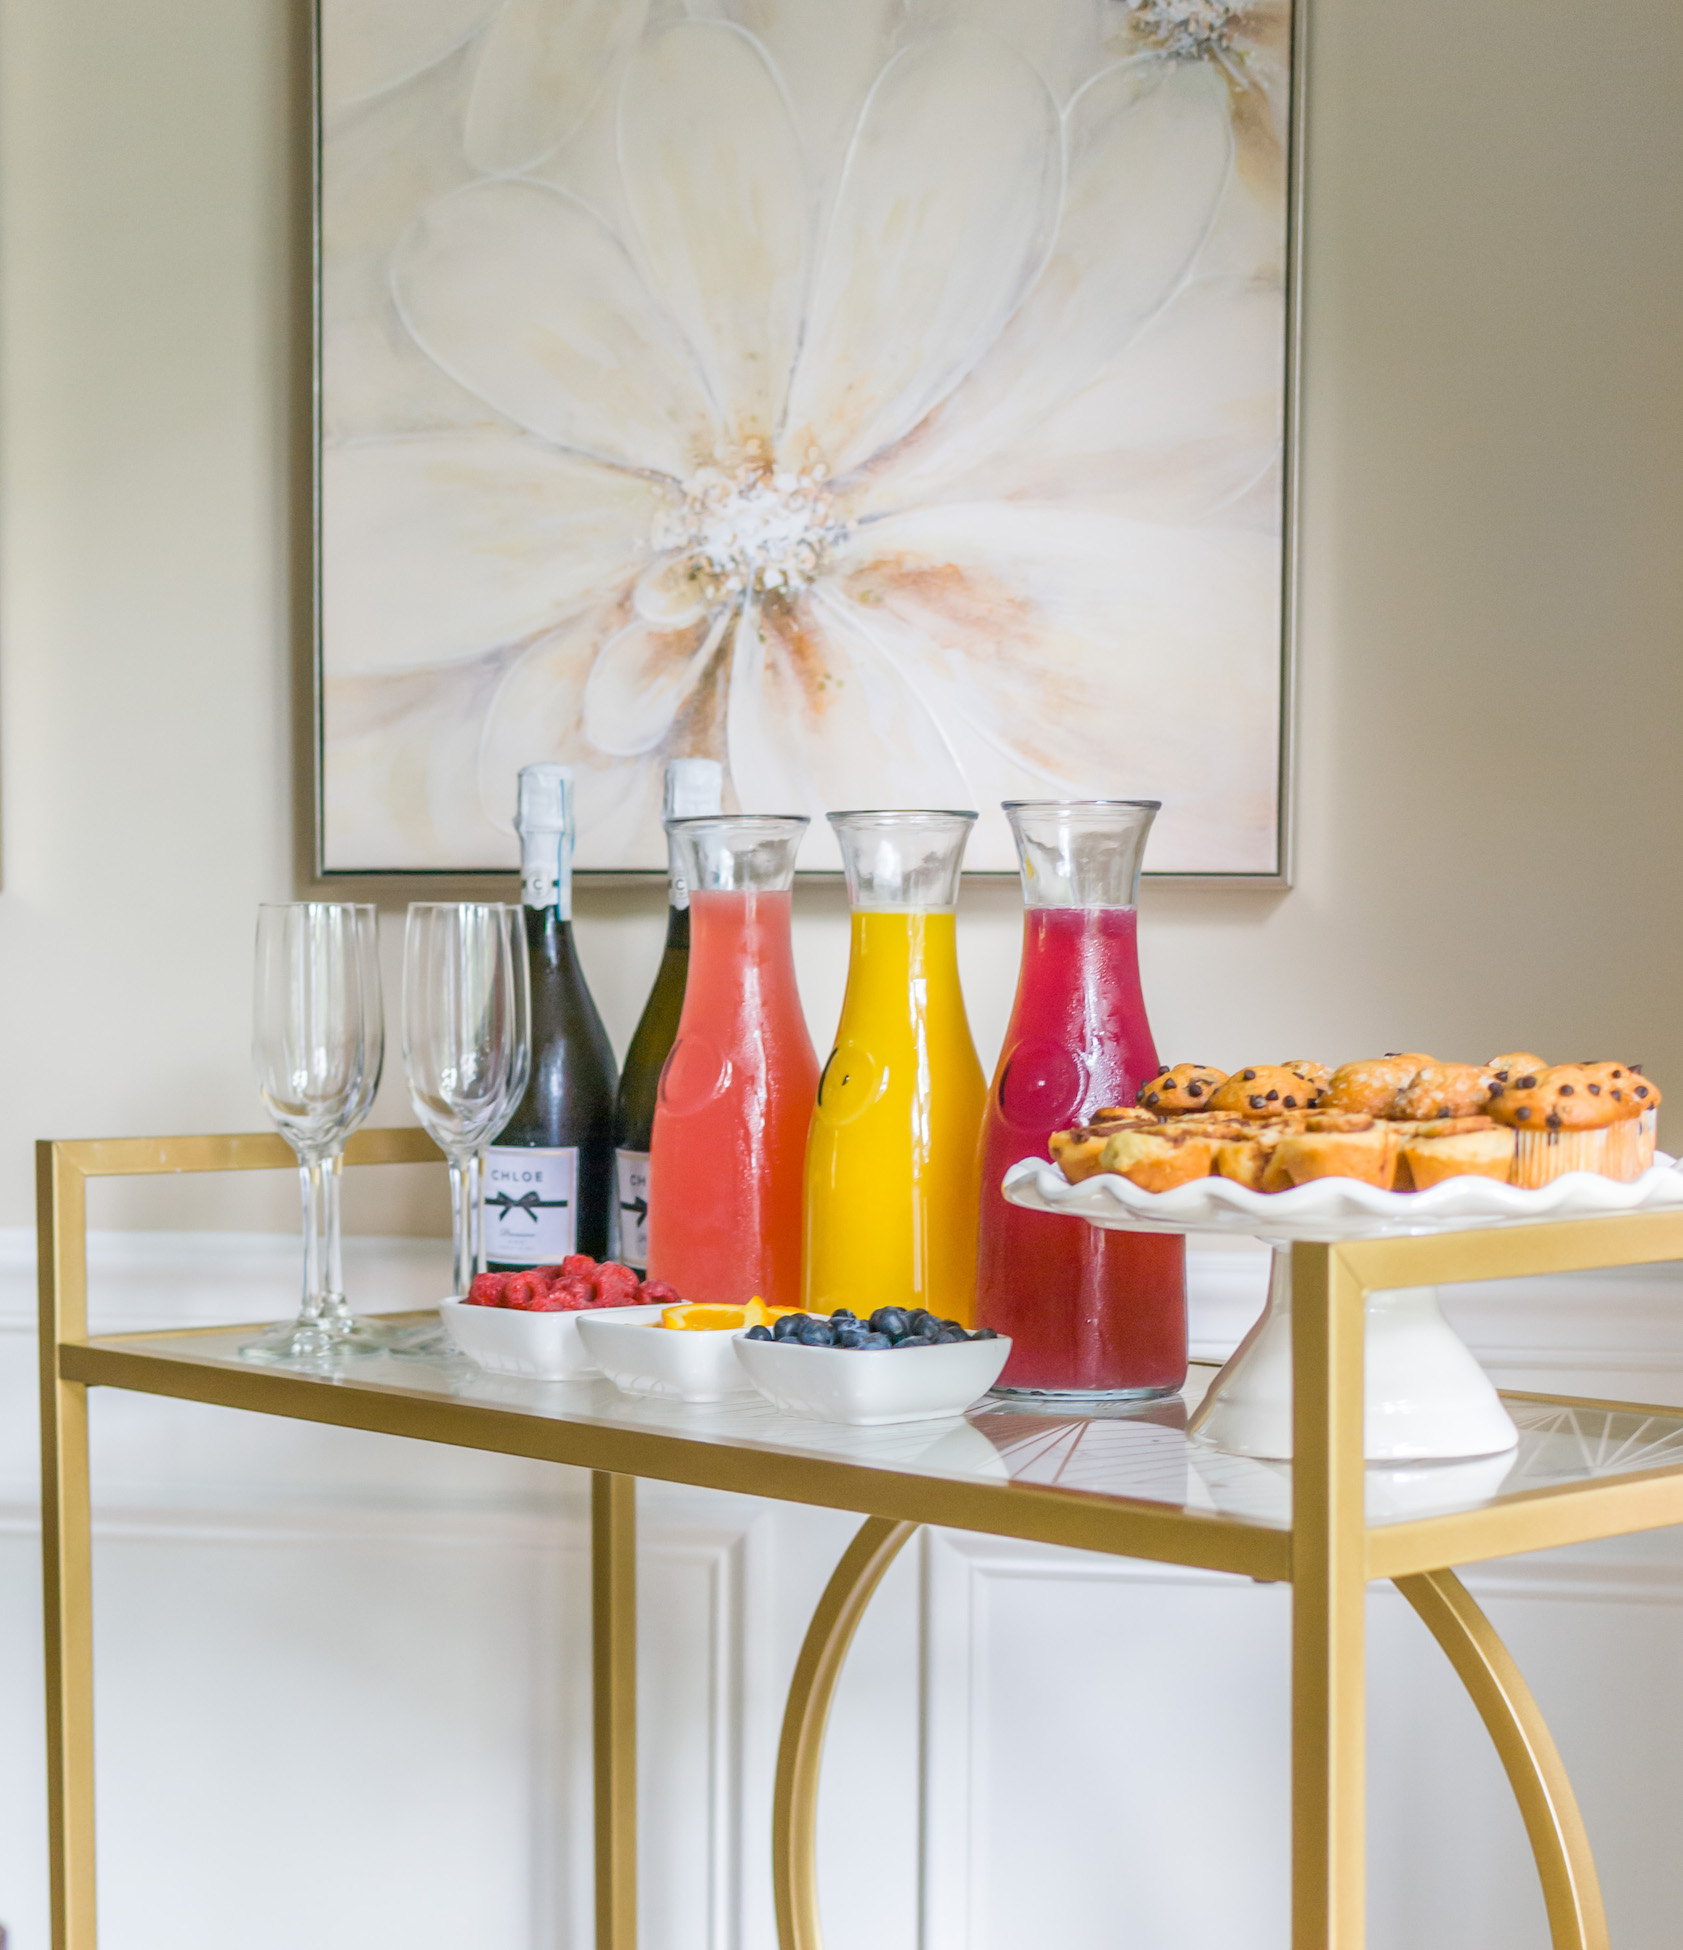
To set up the mimosa bar pictured here, I used Raspberry Lemonade, Blueberry Lemonade and OJ. Then, I bought fruit that complemented them. Here are some different juices you can use besides orange juice:
- peach nectar or pureé
- mango juice
- cranberry juice cocktail
- watermelon juice
- pomegranate juice
- pineapple juice
If you want to get fancy, try one of these 40 mimosa recipes.
I also used mini muffins and cinnamon rolls as my pastries to pair with the mimosas but you can try a lot of other foods like:
- Croissants
- Coffee cakes
- Crepes
- French toast kabobs
- French toast muffins


2. Set out your carafes/pitchers and dishes
Carafes are my fave for hosting since they’re inexpensive and don’t take up a lot of space so, for my mimosa bar, I opted for these inexpensive carafes I found at Target. I used them to create a hot chocolate bar last winter too. If you prefer to use pitchers, here are nice ones you can buy at Target, too. The thing I like about both options is they’re perfect for a mimosa bar or just hosting in general (being able to reuse them often was key for me when buying these).


3. Fill everything up
After I poured the juices in the carafes, I set the fruit in dipping bowls, another Target find, which worked out perfectly. You can also try stores like HomeGoods and Bed, Bath & Beyond for similar dishes–add a little spoon to each so it’s easy for guests to top their drinks with the fruit. Finally, it was time for the pastries! I used a cake stand I already had at home to hold them but Target has this simple cake stand for less than $20!
If you want to dress it up, add some fresh flowers to your bar cart or countertop or shop your home for some decor you want to add.


4. Pour up
I don’t think much more needs to be said here. Enjoy!
I hope you liked this quick and easy mimosa bar tutorial. If you’re looking for more content like this, follow me on Instagram.